7 tips for creating video tutorials
Have you ever thought about creating video tutorials? Here is what you need to know.

What will we see in this post
You need to fix something at home but don’t know how? YouTube. Do you want to do the perfect makeup for an event during the weekend? YouTube.
We could list many examples, but the point is that the platform is very popular for its instructional content on the most varied topics.
So, how about creating video tutorials?
This is an excellent alternative for those who wish to engage followers: tutorials are among the most-watched video formats.
After all, one of the internet’s great attractions is the possibility of learning new things. And to do this, YouTube is a great tool.
If you already work with video production or if this field is still unknown, the good news is that it isn’t rocket science.
However, creating quality material requires hard work and a good dose of preparation. Check it out below!
1. Think about the topic to be covered
The first step is to define which topic you’ll address. This way, all the planning and the technical part of creating video tutorials will be directed towards this specific subject.
Prioritize topics that you master. Being an expert is important so that the knowledge you convey can be more effective.
2. Select a tutorial model
After your topic is defined, it becomes easier to think about the most suitable tutorial model. Check out the ones that are best known.
Screencast
A screencast tutorial is one that, in your video, is played on the computer screen of the person teaching the subject.
It’s widely used to show how to build websites, run music editing programs, software presentations, etc.
Video lesson
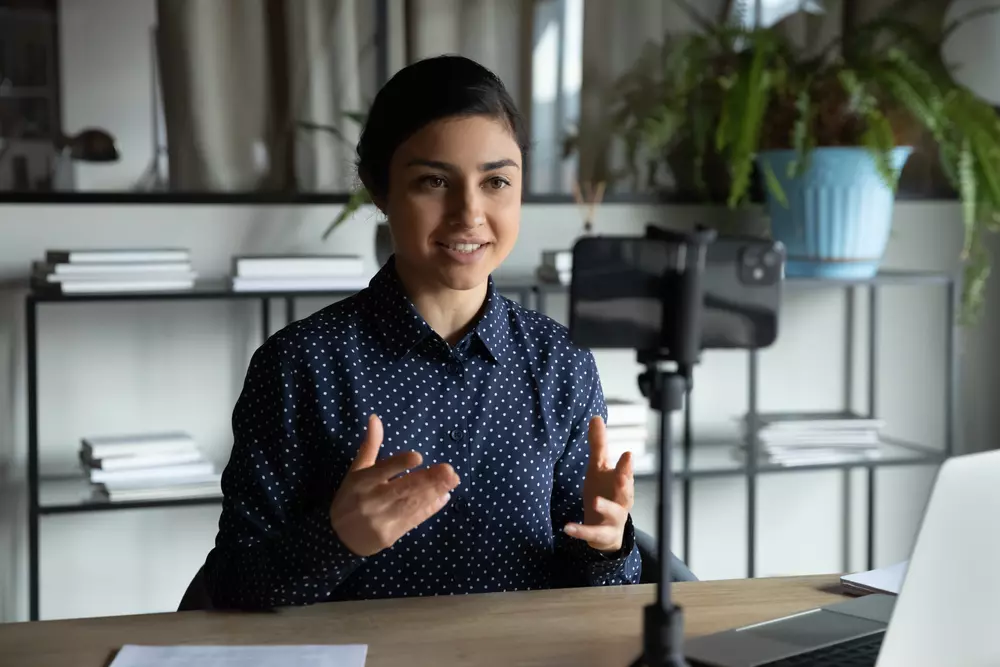
Video lessons are also very useful to explain step-by-step processes. Its main characteristic is the presence of the instructor in the recording, talking directly to the audience.
This is the preferred model for makeup, gastronomy, and arts & crafts tutorials.
Visual — hands-on
You can also create video tutorials without necessarily talking on the video.
The “hands-on” format, in which the instructor’s hands are shown handling objects and visually teaching the steps, is quite successful.
Visual — animation
Like the hands-on format, there are tutorials consisting only of animations, without the presence of an instructor.
In this case, topics that are easy to understand are indicated, since there won’t be any explanatory narration —, which is the case of less complex arts & crafts, simple recipes, etc.
3. Write a script and rehearse
Well, were you able to define the best tutorial model for the subject you wish to address? Great! Now it’s time to prepare your content.
Step-by-step organization
Before you start recording and editing, prepare a script of actions and topics you’ll be covering.
After all, you are going to be teaching something, and organizing your ideas is essential so that this knowledge can be clearly conveyed.
Rhetoric and body language
Another tip is to rehearse before recording. This suggestion is valid especially for the formats in which you’ll be appearing in the shot talking with your audience.
In this case, in addition to rehearsing your prepared script, you should study your body language and the influence of gestures when it comes to capturing your audience’s attention.
4. Prepare the recording equipment
Is your script ready and have you carefully rehearsed it?
Okay then, the next step is to prepare your recording equipment.
Separate all items before you start shooting so that you don’t have to interrupt the instruction sequence. This might make you lose your train of thought. Write this down:
- Camera: Choose one among many types of cameras — each one delivers specific results;
- Tripod: An essential item for those who don’t have a recording assistant, because it allows the camera to stand still while you carry out your step-by-step process;
- Microphone: Audio capturing is critical for the final quality, so it’s worth investing in good microphones.
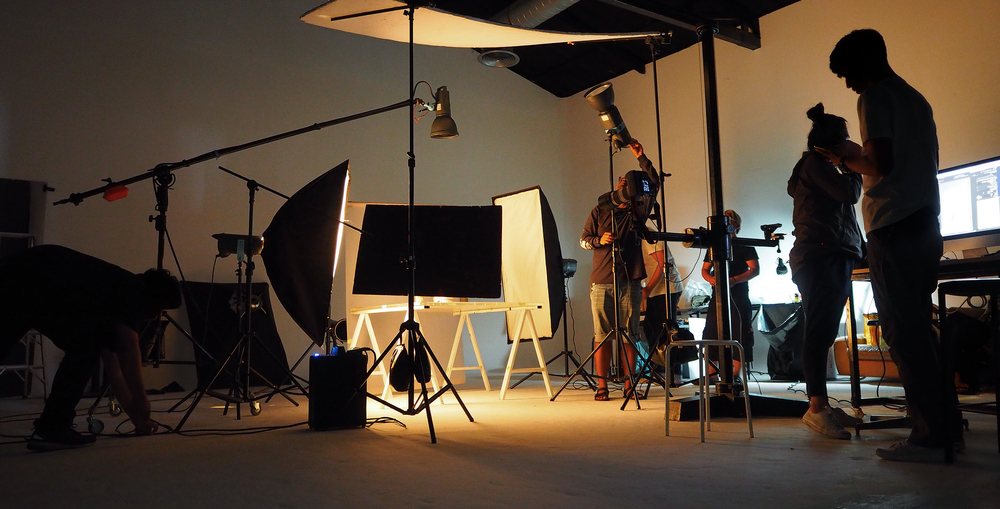
5. Record excellent material
Way to go. Let’s get started! Before you start recording your video, however, pay attention to details that favor – or hinder —, the excellence of the material.
Set
A set with a pleasant background, related to the topic and free of clutter makes a huge difference.
If you can’t find a nice place to serve as a studio, one tip is to invest in chroma-key (the famous green screen), but this feature requires a little more editing skills of course.
Lighting
Video lighting is one of the aspects that sets apart amateur from professional material.
So make sure you are meticulous with this point. Use the room’s natural lighting, shoot outside or, if the place doesn’t get enough natural light, use equipment to assist you.
6. Don’t forget about post-production
All previous tips refer to pre-production. With everything ready, it’s time to put your plan in practice and who everything you know about the subject.
However, the work doesn’t end here. Creating video tutorials also requires a certain amount of effort during post-production. Check it out!
Editing
- Cuts: Cut out speech pauses, language vices, script errors and outside noise;
- Scene selection: Select the scenes that will make up the final material and if necessary, rearrange the presentation of topics;
- Audio treatment: Edit voices to improve sound clarity and to eliminate noise;
- Image treatment: Correct details such as exposure and focus so that the visual experience is good for your audience.
Finalizing
- Adding effects: In video tutorials, digital effects are welcome to facilitate the explanation of the content;
- Add subtitles: Subtitling the lines also helps make the material even more effective in conveying knowledge;
- Defining a thumbnail: Have you ever seen those images of a miniature video, looking like a cover? That’s the thumbnail —a gimmick that greatly influences the number of views.
7. Be detail-oriented when promoting
But after so much work, it’s worth investing in its promotion so that it can reach your audience, right?
Here goes a few tips: use your social media to promote the material and use paid ads.
In addition, you can use SEO for videos: keywords with good traffic, strategic descriptions, proper content length, the insertion of precise cards and thumbnails, are a few of the actions that work!
As we said earlier, video tutorials are great to engage followers, since they deal directly with solutions for your audience’s needs.
Therefore, one good idea is for your promotion work to have a good reach to attract more visitors to your channel, but don’t forget the initiatives directed exclusively to those who already follow your posts.
Shall we get to work?
Phew! Quite a lot, huh?
Now, it’s time to roll up your sleeves and create video tutorials.
As you’ve seen, good results depend on a lot of preparation before posting your material and also several retouches after recording.
If you’d like to learn more, check out our article about audiovisual techniques and camera shots.