The 10 best mobile and desktop photo editing apps
The top photo editing apps and software plus a basic tutorial to start using them today.

What will we see in this post
Choosing the best among several photo editing apps available may be a hard task. There are apps with different options for tool settings, presets, filters and other features that are highly valued nowadays, since we live in an era in which visual content is nothing short of fundamental.
Editing your photos is definitely the best strategy in order to stand out in the crowd.
Based on popularity, user evaluation and features offered by the program or app, here is a list of the best options in 2019.
Moreover, you’ll be able to check out a tutorial of how to start using each app.
Let’s get started?
The best mobile photo editing apps
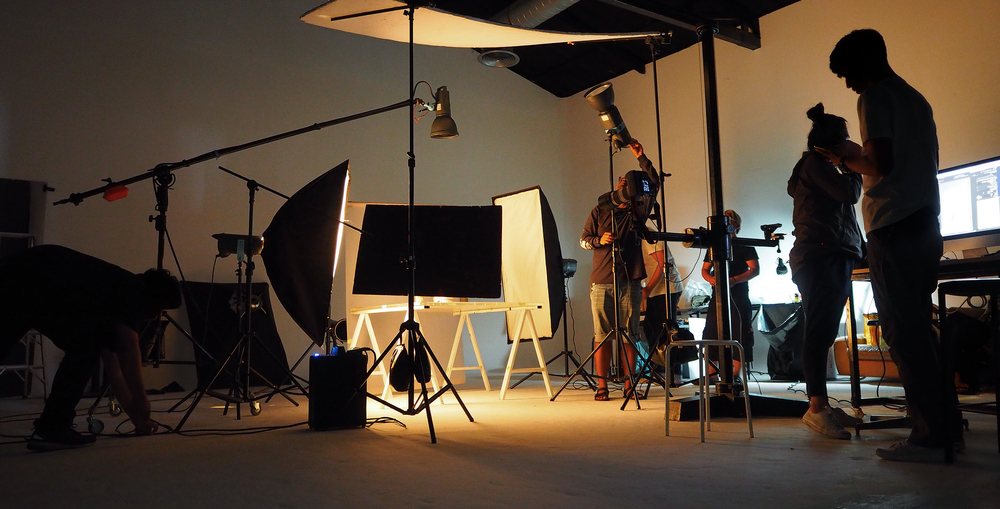
1- VSCO
This is a favorite among editing apps. But its fame isn’t by accident: in addition to offering several tools, from the basic to the most advanced, VSCO has a community for photo sharing and inspiration for photography buffs.
The interface and variety of usual and interactive tools are amazing. It is well worth it for those who like quality and simplicity.
You can download the app’s free version in iOS and Android, which includes default tools and basic presets. However, if you’d like a more complete experience, VSCO offers an annual subscription for $ 19.99 USD.
How to use VSCO
1- When you open the app, go to Studio (it’s in this tab that you view all the photos you edit), import the photo and click on it to enter the editing option.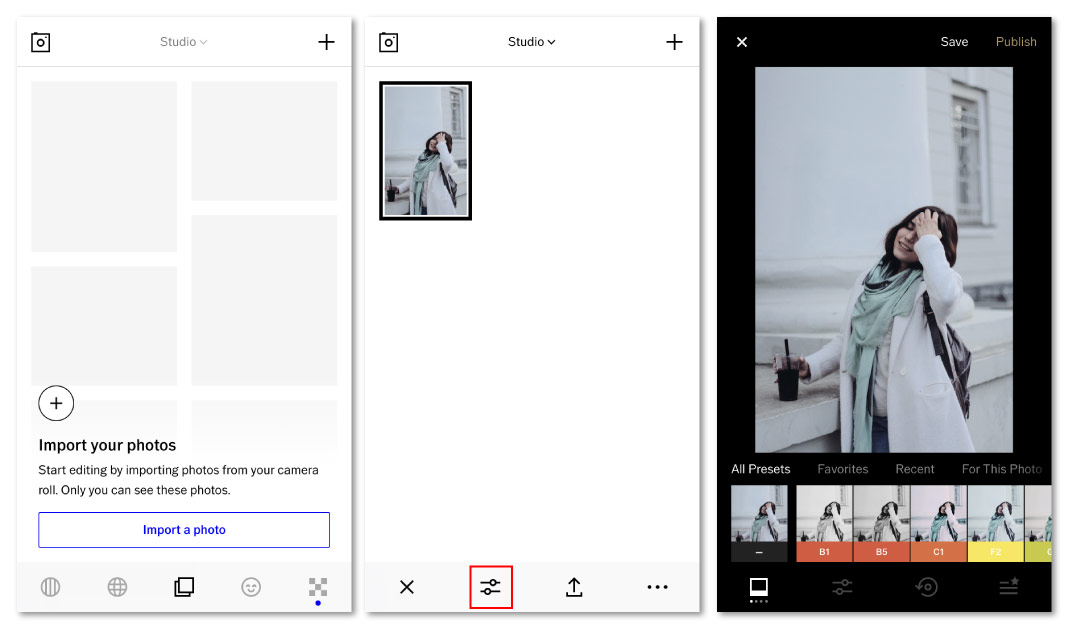
2- Browse the preset, settings, recipe and favorite tools, in this order, at the bottom of the screen.
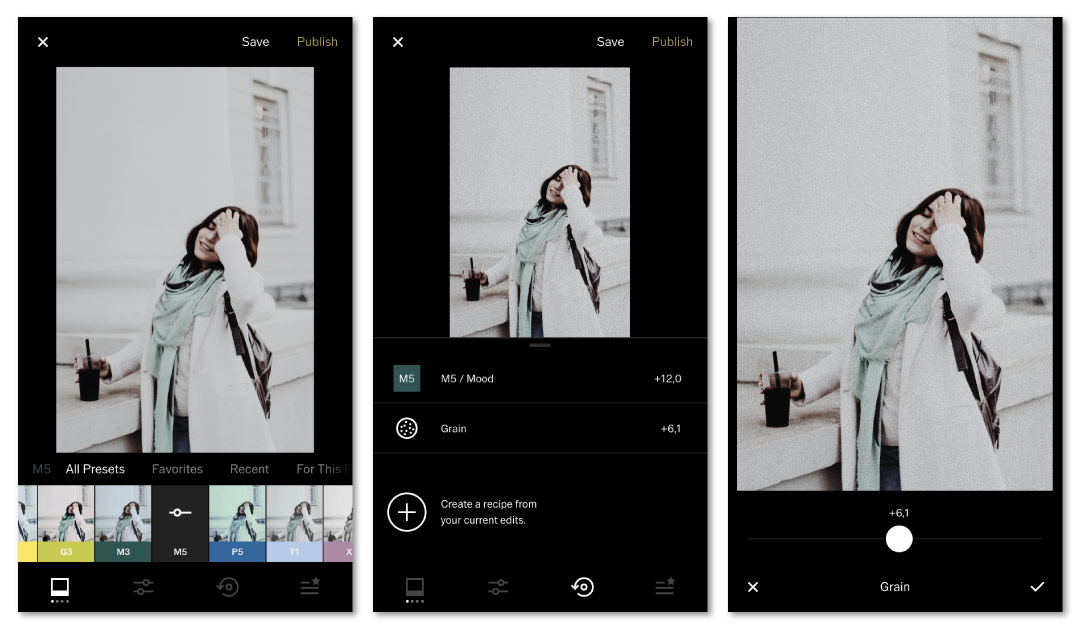
3- After editing, save or publish the photo in the community by clicking on one of these options. In order to save your mobile album, select the image – in Studio – and click on the options icon (3 dots).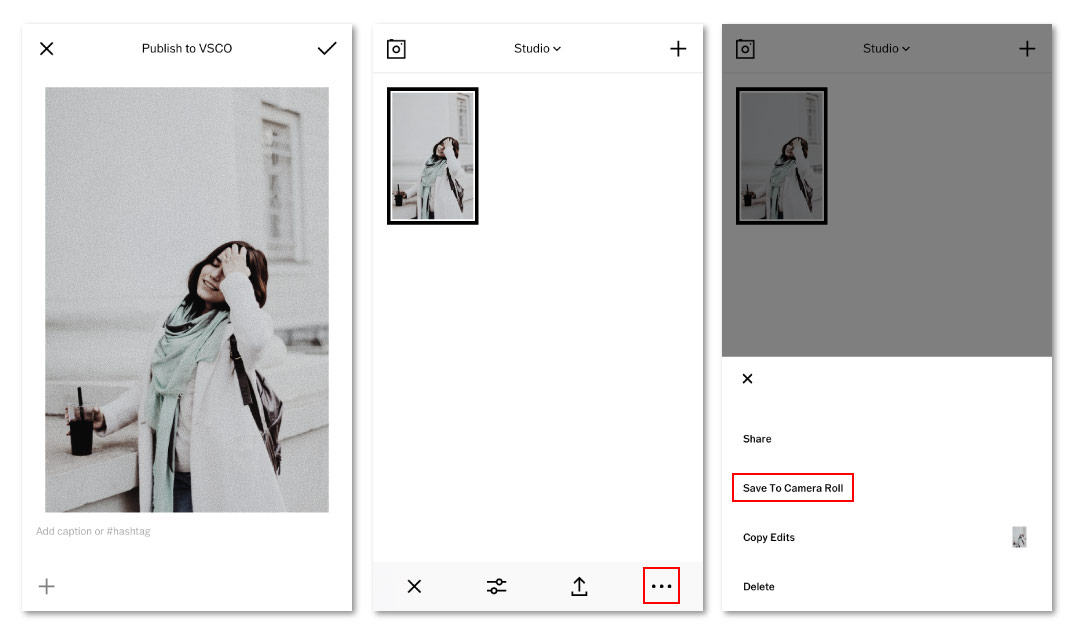
2- Adobe Lightroom CC
This app is a photo editor inspired on the Adobe software of the same name.
It has become well known not only for being from Adobe, a renowned image editing software brand, but for being truly excellent for simple yet powerful editing.
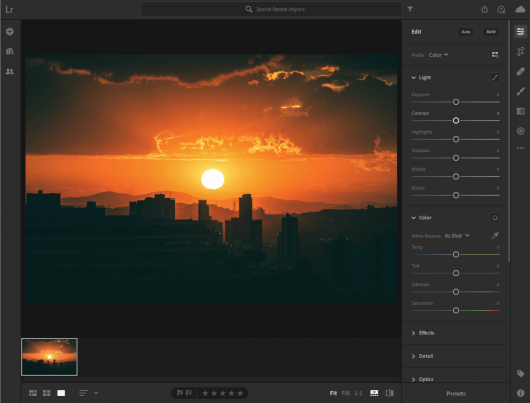
One of the unique features of the app is the selective editing, through which it is possible to select a specific part of the photo to make adjustments.
Lightroom CC can be downloaded for free in iOS and Android, with all the capturing, organization and sharing tools and almost all the editing tools.
Those who subscribe to the Creative Cloud Photography plan have more editing options and also can also synchronize Lightroom photos in all devices.
How to use Adobe Lightroom CC
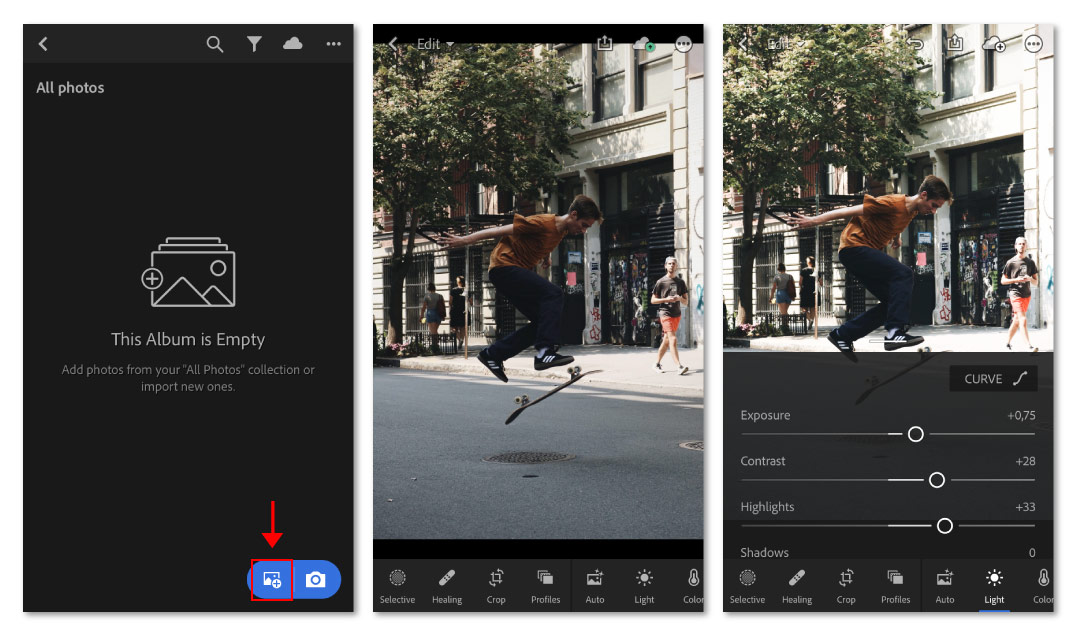
1- Open the app and click on the import icon (photo with a + sign) to edit a photo from your library.
2- Browse the tools in the bottom of the screen. When you click on a tool, you can change the settings number, as shown in the image.
3- For selective editing, click on the Selective tool, then click on +, in the top left corner of the screen, and then select brush, circle or square to plot the space.
4- In the left corner, it is also possible to see the brush-adjustment tools.
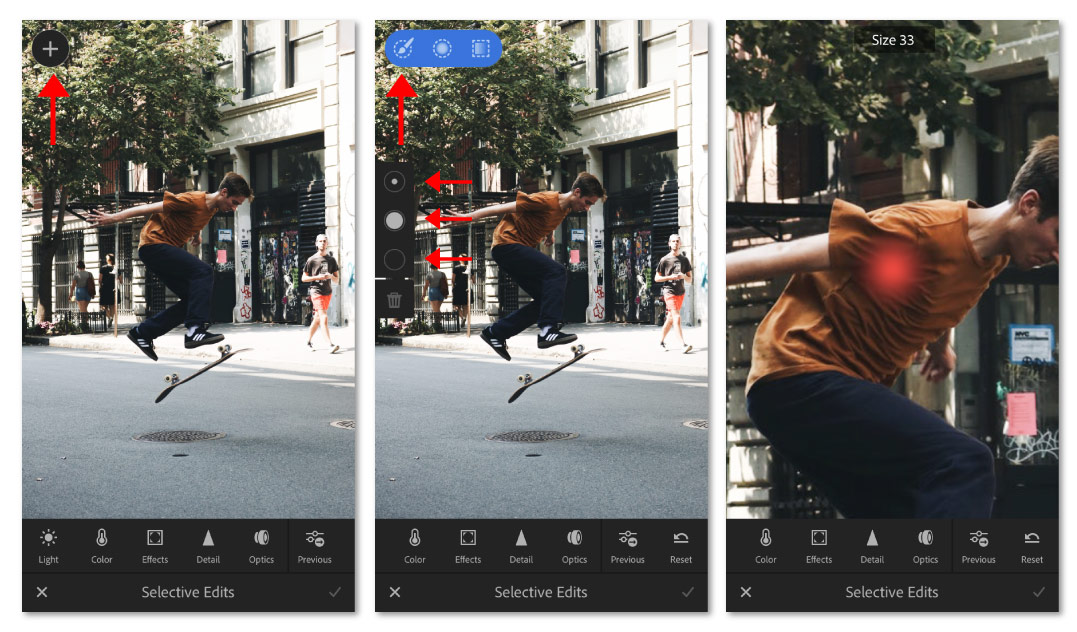
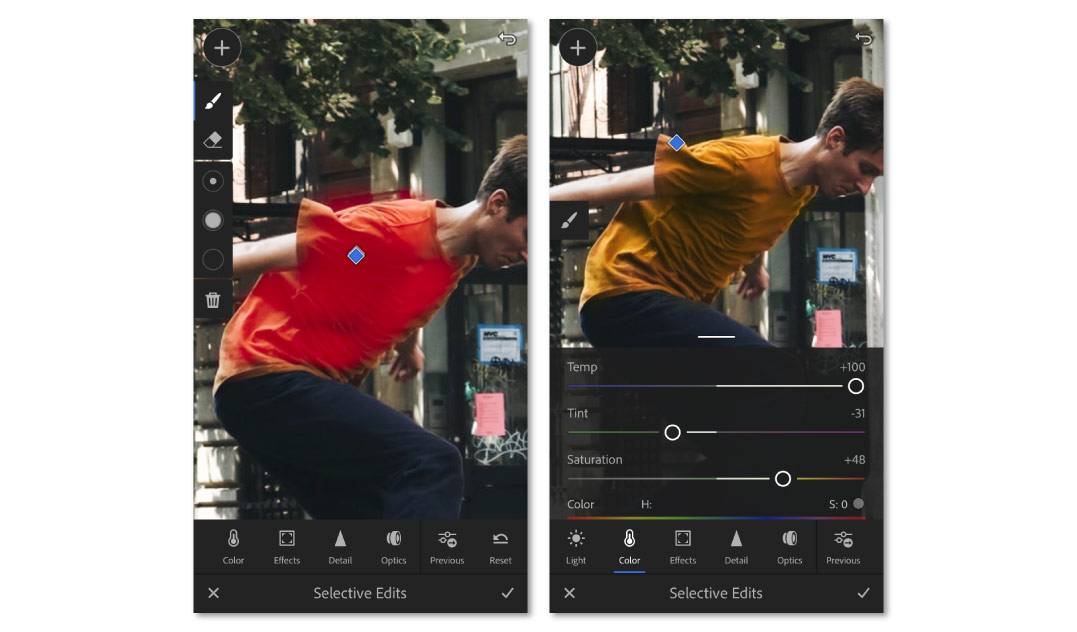
5- Paint the area you wish to edit and then make the adjustments.
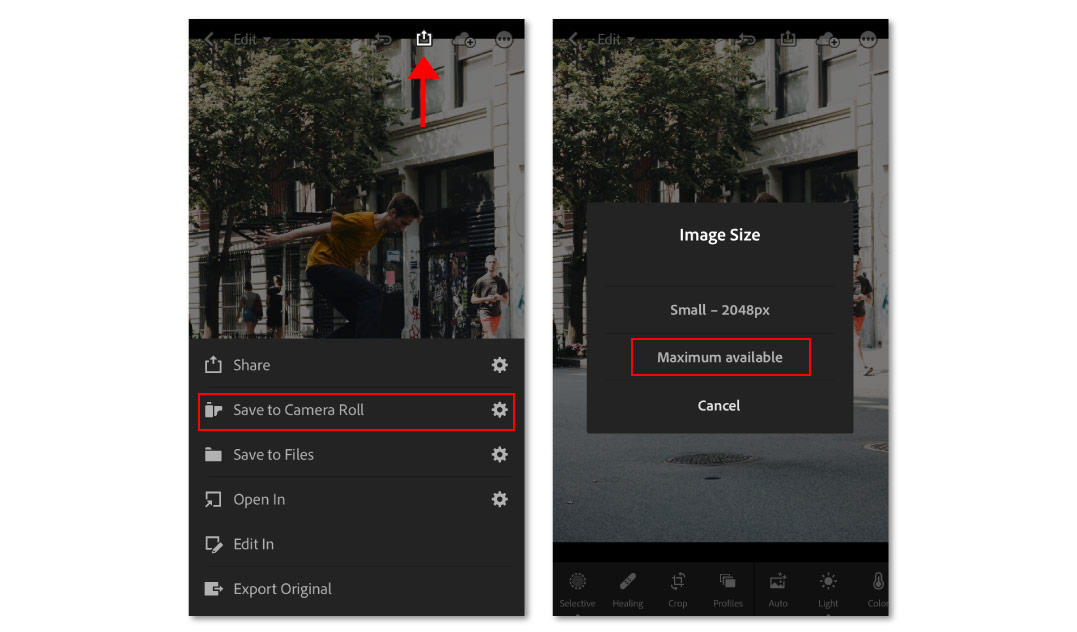
6- Save or share your edited photo by clicking on the export icon (square with up arrow).
3- Adobe Photoshop Express
As with Lightroom, Photoshop Express is developed by Adobe and is widely known. Additionally, it’s one of the best qualified for mobile image editing and collages.
Unlike the Lightroom CC app, it’s more focused on montage features.
In addition to the basic editing tools, it has others that offer the cropping of images into standard sizes for social media, the application of text, layout styles, stickers and collage options.
It’s ideal for those who need to create more elaborate images to post them on social media. The app is free and can be downloaded to iOS and Android, and it has Premium features for those who have an Adobe ID.
How to use Adobe Photoshop Express
1- Open the app and register.
2- Select a photo to edit and browse all the tools at the bottom of the screen.
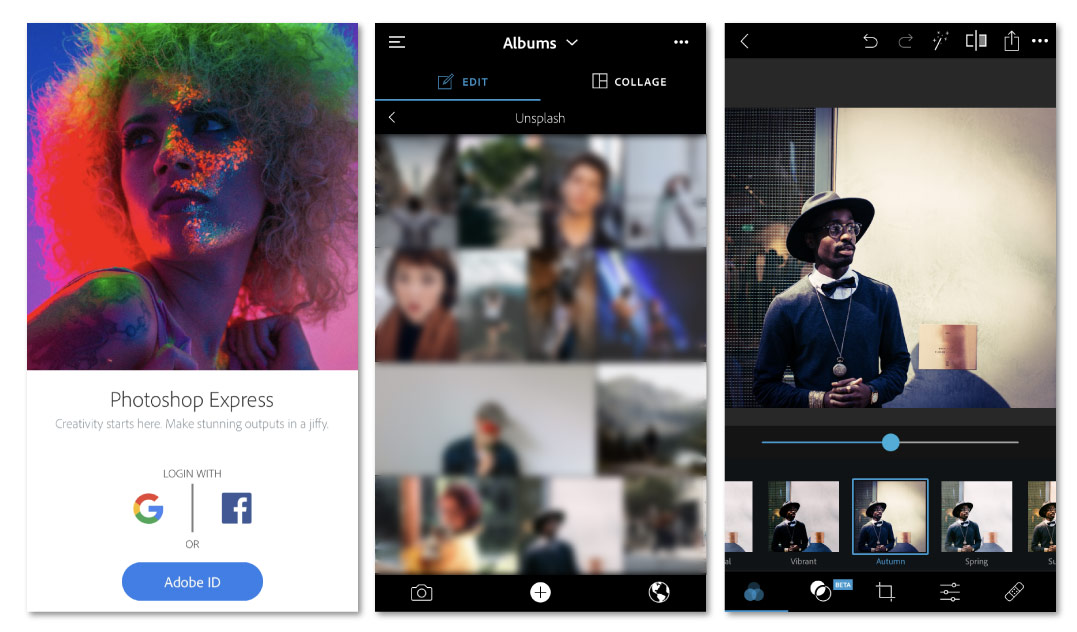
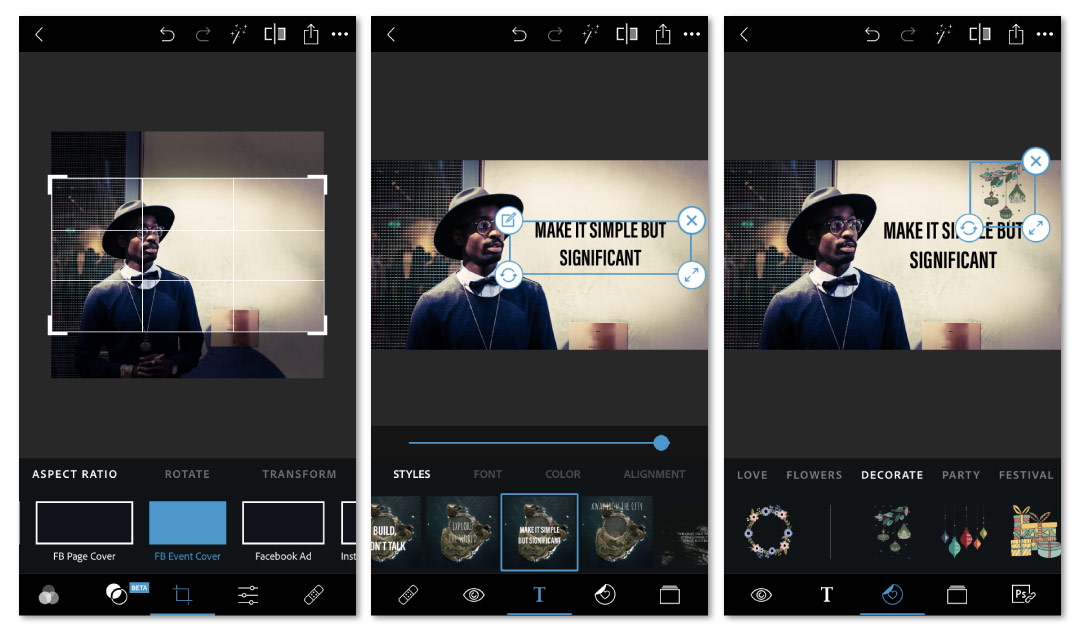
3- Explore the cropping tools, with the presets for social media sizes; text, with various styles and different fonts; stickers, separated by themes; and collage.
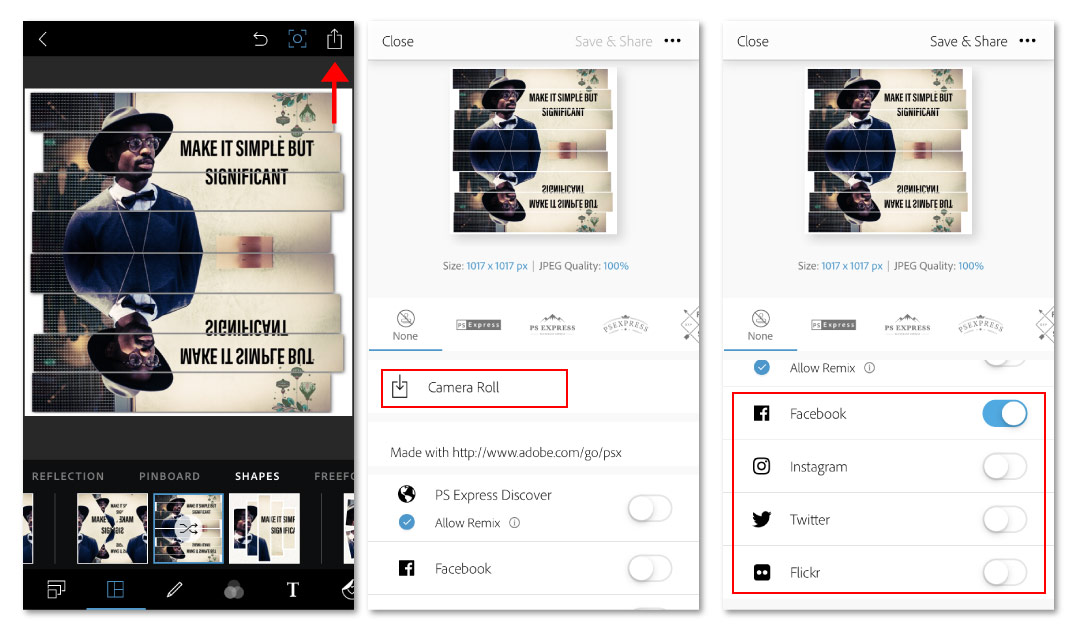
4- To save your edit, click on the export icon (square with up arrow) and choose between save in your mobile photos or share directly on social media.
4- Facetune
Facetune is a photo editor focused on image manipulation, especially for selfies.
The tools let you edit your face shape, correct skin imperfections, add makeup and also perform traditional adjustments. In addition, it’s quite easy to use.
The app can be downloaded for free with limited tools in iOS and Android.
Its free version for iOS is Facetune2. In it, you can subscribe for 1.99 USD/month to become a VIP user. But you can also directly download the paid version: Facetune, which costs 3.99 USD.
On Android, the free version is Facetune – Perfect Selfie Editor. It has fewer tools than Facetune for iOS. The paid version is Facetune – Without Ads, for 2.99 USD.
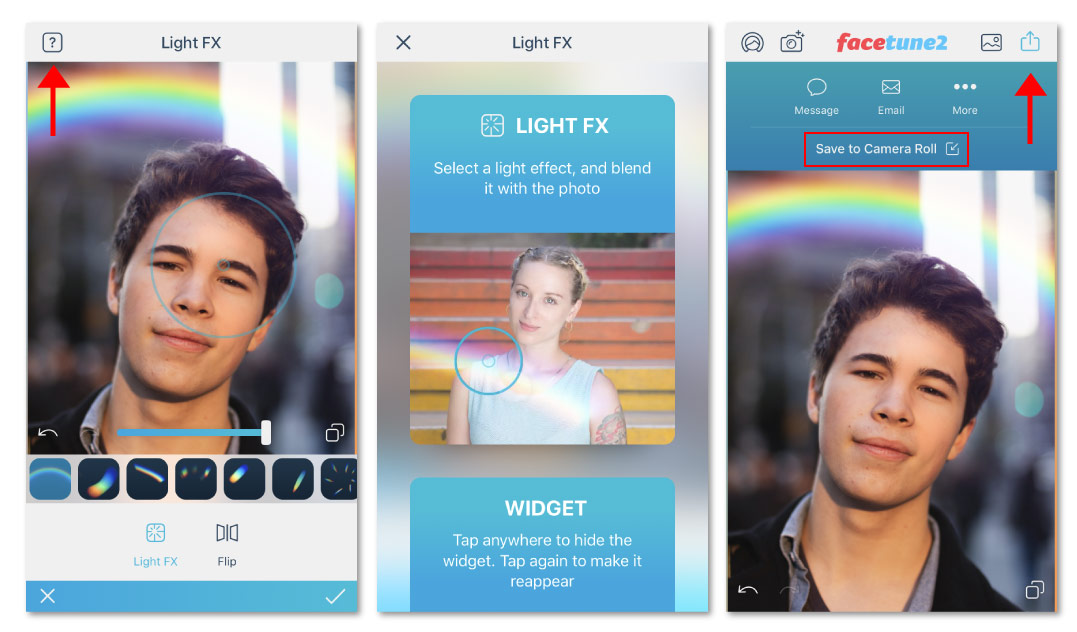
How to use Facetune
1- Import your photo in the image/photo icon.
2- Browse the manipulation and editing tools in the bottom of the screen.
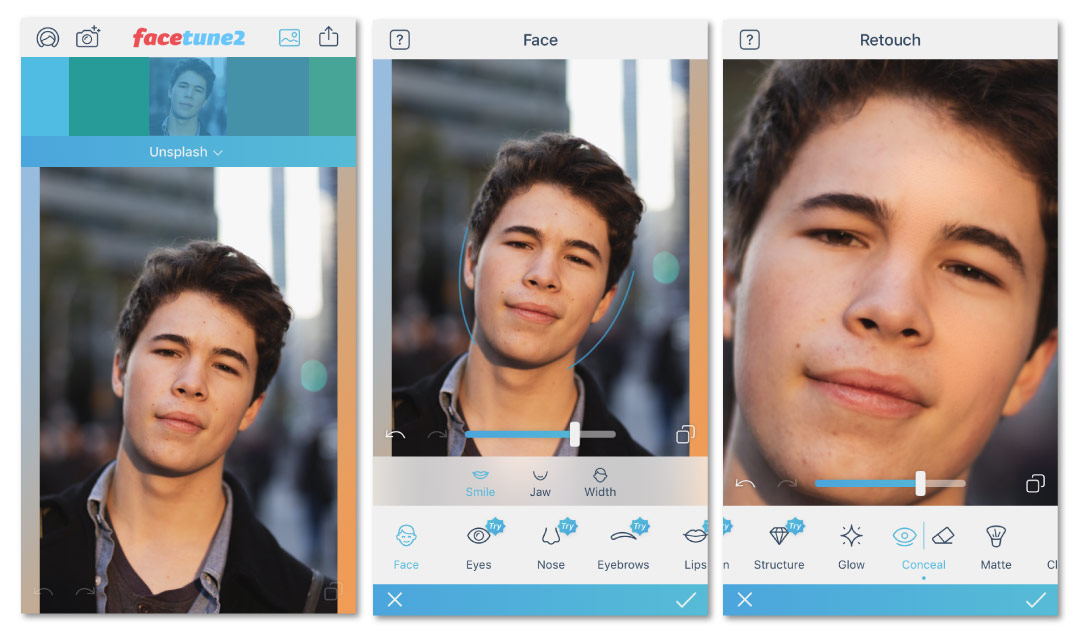
3- Use the Help feature to learn how to use the tools and explore their full potential.
4- Save your edited photo by clicking on the export/share icon.
5- Snapseed
Recently acquired by Google, Snapseed is a full photo-editing app that is recommended for professionals.
It has 29 tools and filters, with precise controls and with the unique selective editing feature. However, it is less intuitive than Lightroom.
What makes it different from the others is that it’s completely free, i.e., there are no purchases within the app, nor subscriptions to unlock tools.
For those looking for a free professional editor with detailed settings, Snapseed is truly worth it. It’s available for iOS and Android.
How to use Snapseed
1- Import your photo and browse the filter options in Appearance and settings in Tools, on the bottom of the screen.
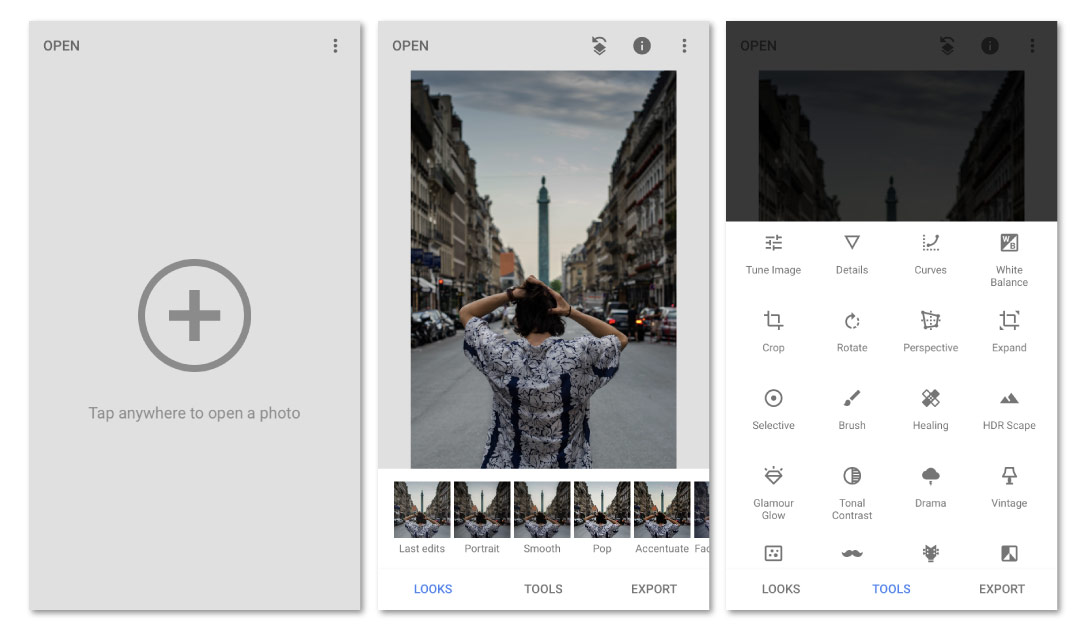
2- In tools, when you click on one of them, notice that some of them have adjustment sub-options at the bottom of the screen also.
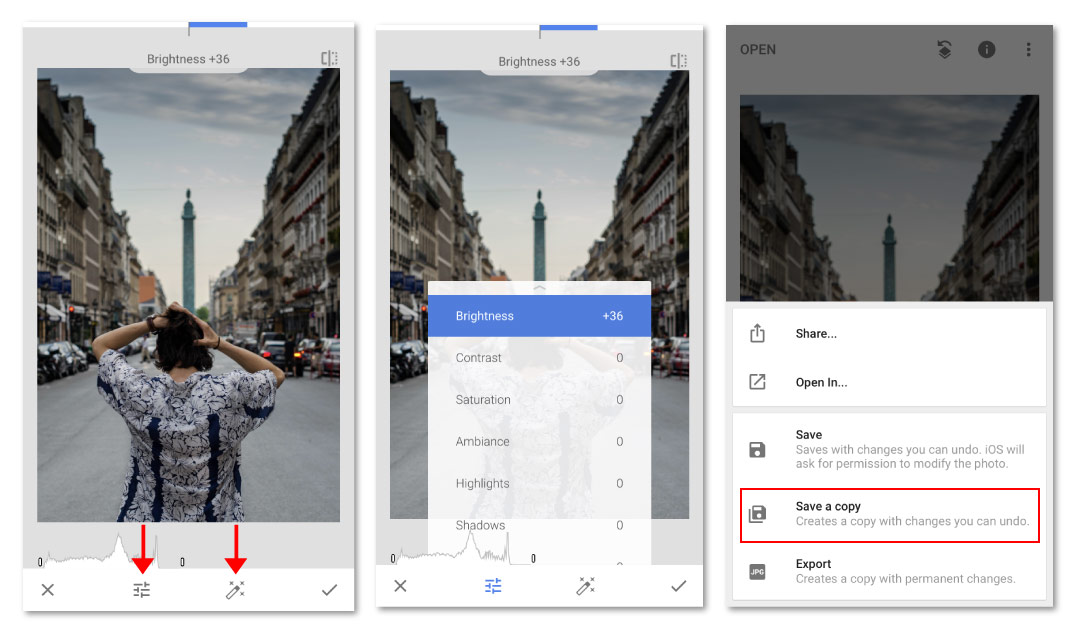
3- To adjust automatically, click on the magic wand, but if you want more advanced options, click on settings. Here you can control the amount of effect by dragging the finger across the screen, to the right or to the left.
4- When you finish using the tool, click on the last option to confirm the edit.
5- Save your photo by clicking on Export. I recommend that you save a copy to keep the original and create a new edited image.
Best photo editing apps for pc
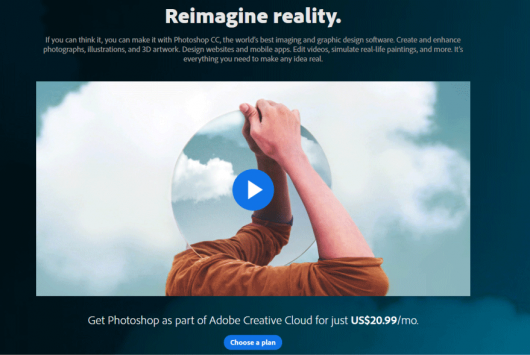
1- Adobe Photoshop CC
Adobe Photoshop CC is the most famous and renowned software for the editing and creation of images.
It’s paid, so in order to use it you need to purchase it by subscribing to one of the Adobe plans. But first, if you wish, you can try out the program in a trial version.
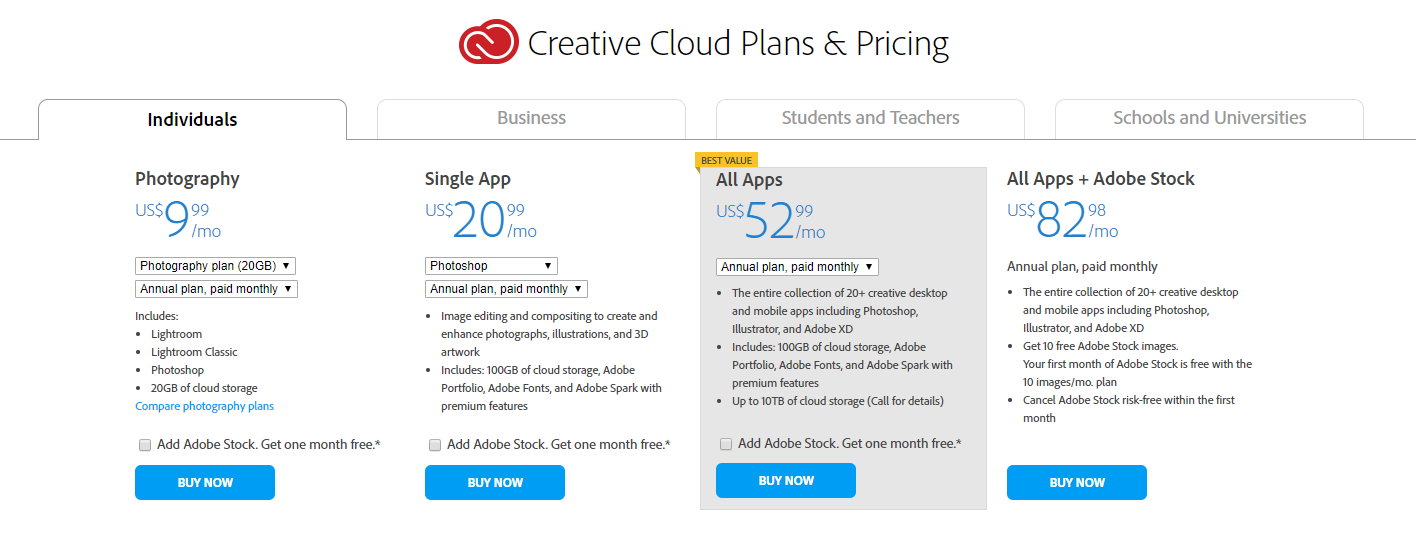
Plans:
- Individual, 20.99 USD/month
- Photography Plan, 9.99 USD/month
- All apps, 52.99 USD/month
The Photoshop tools are diverse and very complete for any purpose. Photography professionals and designers are those who use the software the most, but this doesn’t prevent any person from learning how to use its features.
Adobe also offers tutorials for beginners.
Here’s how to start using Adobe Photoshop CC:
How to use Photoshop:
1- Go to the Adobe website.
2- Purchase a plan or download the trial version.
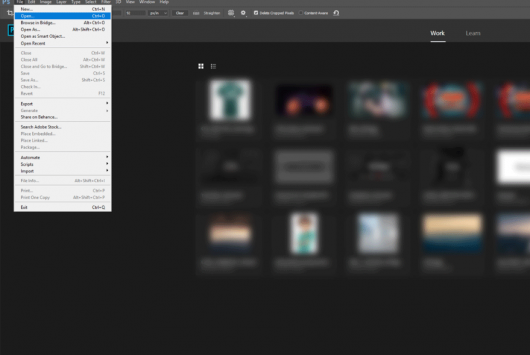
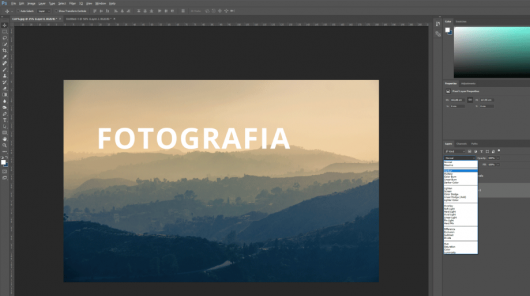
3- Open Photoshop and open a photo in File > Open...
4- Use the tools on the left to crop, correct imperfections, erase and modify the image or create shapes and insert text.
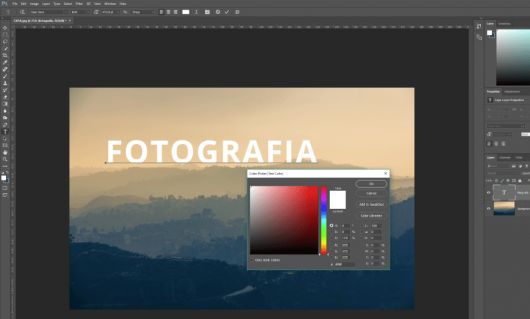
5- Click on Image > Settings to open all the image settings
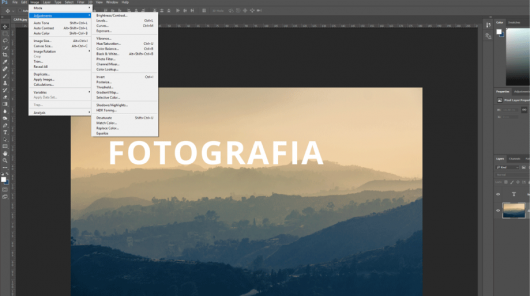
6- Use the merge options in Layers to create effects with this feature.
7- To save as, click on File > Save as.
Tip: Photoshop has numerous tools and different ways of creating effects in images. Therefore, I recommend that you watch the tutorials, explore a lot and practice until you master the various possibilities offered by the software.
2- Adobe Lightroom CC
Despite providing image adjustment tools, Photoshop isn’t as complete as Adobe Lightroom CC in this regard.
This software is specialized in photo adjustment features, offering various super complete tools for the best editing possible. It includes few image creation and manipulation features.
It’s perfect for photography buffs, especially for professionals. In order to use Lightroom, you’ll need to purchase one of Adobe’s subscriptions, and may try the free trial version for 1 month.
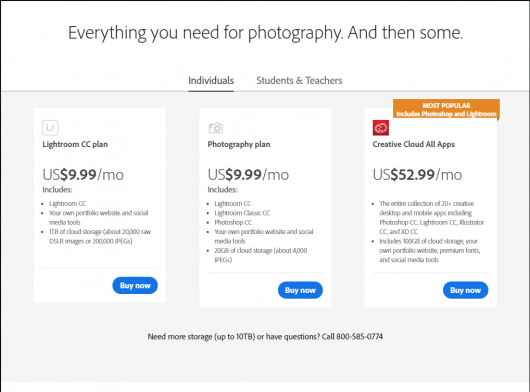
Plans:
- Photography Plan, 9.99 USD/month
- All apps 52.99 USD/month
For those who need to work with photo editing and wish to invest in quality and professionalism, the most recommended plan is Photography, which includes Lightroom and Photoshop for a reasonable monthly price.
How to use Lightroom:
1- Go to the Adobe website.
2- Purchase a plan or download the trial version.
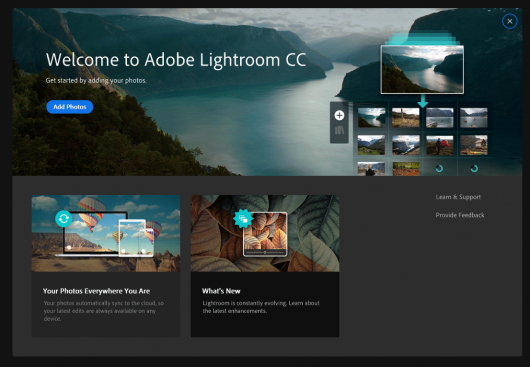
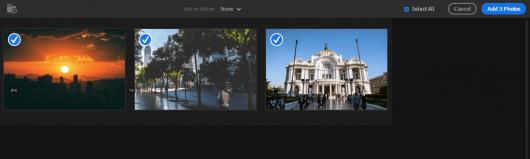
3- Open the program and click on Add photos. Select as many as you wish to put in the Lightroom album.
4- Select the image that you wish to edit and start using the tools.
5- Watch the tutorials that the app offers by clicking on a tool for the first time, they will be very useful.
6- You can copy a full edit to replicate in other photos by clicking on the options (three dots) on the right.
7- Save your edit by clicking on the icon, the square with an up arrow.
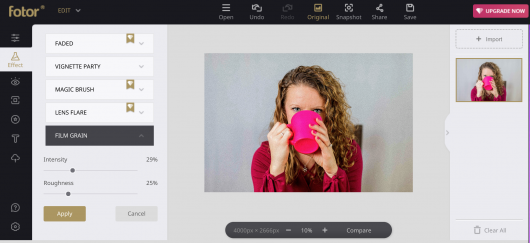
3- Fotor
Fotor is an online photo editing, collage creation and design app.
It also has a mobile app version, but the desktop version is better known and rightly so.
The photo editor also includes full adjustment tools, several effect options and image manipulation tools.
Fotor has a simple, intuitive, practical and fast interface.
Unfortunately, the free version is quite limited, but Photor offers a Pro version with premium content, without ads and with advanced features for U$ 39.99/year.
It can also be downloaded to be used offline on Windows and Mac desktops.
How to use Fotor online
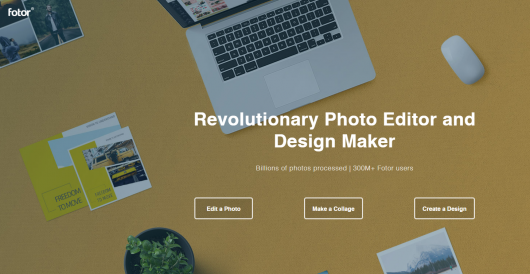
1- Go to the Fotor.com website.
2- Click on the Edit a photo option.
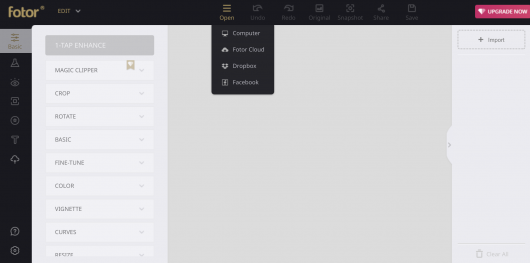
3- Import a photo in option Open > Computer.
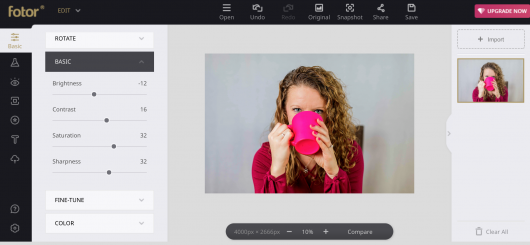
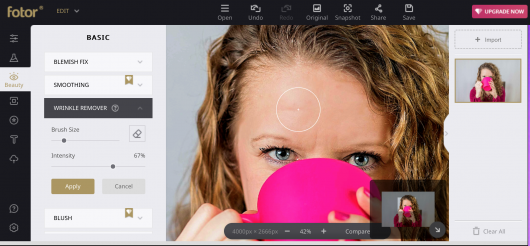
4- Browse the tools on the left: Basic, Effects, Beauty, Edge, Stickers and Text, and make the adjustments.
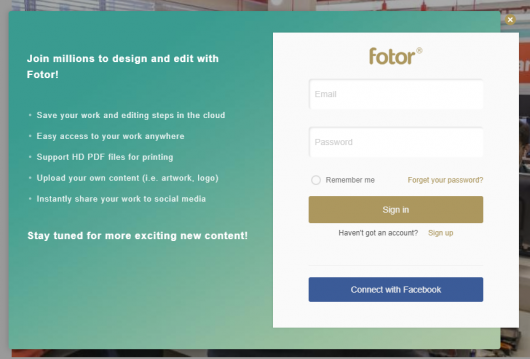
5- When you’re done, click on Save. The app will ask you to login or create an account.
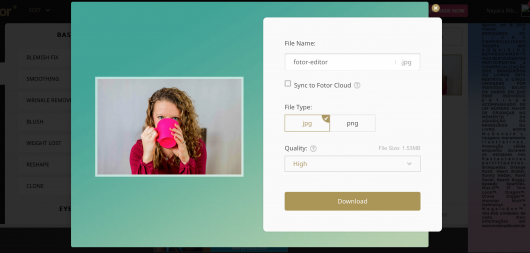
6- After this, name the file, select the file type, quality and then download it!
4- Pixlr
Pixlr is a web and mobile photo-editing app. Its web version has two editing modes:
- Pixlr X, which provides full tools for basic adjustments, similar to those in the mobile app;
- And Pixlr Editor, which has editing, manipulation and adjustment tools similar to Photoshop’s, but less complex.
In addition to offering what’s needed for a polished edit, Pixlr is completely free, without limited content.
However, the Pixlr Editor requires deeper knowledge of the tools, so that you can take advantage of the features offered.
The interface is only delivered in English and the app can also be downloaded to mobiles.
How to use Pixlr X
1- Go to the Pixlr.com/x/ website and click on Open Photo to open the photo you wish to edit.
![]()
2- Use the tools:
- Arrange: to change the size of the photo, transform and change layer settings;
- Crop and rotate: to crop and/or rotate a photo;
- Adjust: for basic color, light and other settings;
- Effect: to apply effects;
- Add text and add image: to add text and image.
![]()
3- Click Save to save your photo.
How to use Pixlr Editor
1- Go to the Pixlr.com/editor/ website and click on open image from computer to open the photo you wish to edit.
![]()
2- As in Photoshop, you can use the tools on the left side to:
- Manipulate the image;
- Create shapes and draw;
- Insert text, etc.
It is possible to identify superficially the function of the tools according to the symbols in which they are represented.
![]()
3- Click on Adjustment to view how you can adjust the image, and on Filter if you wish to apply any type of filter.
![]()
![]()
4- To save the edit, click on File > Save.
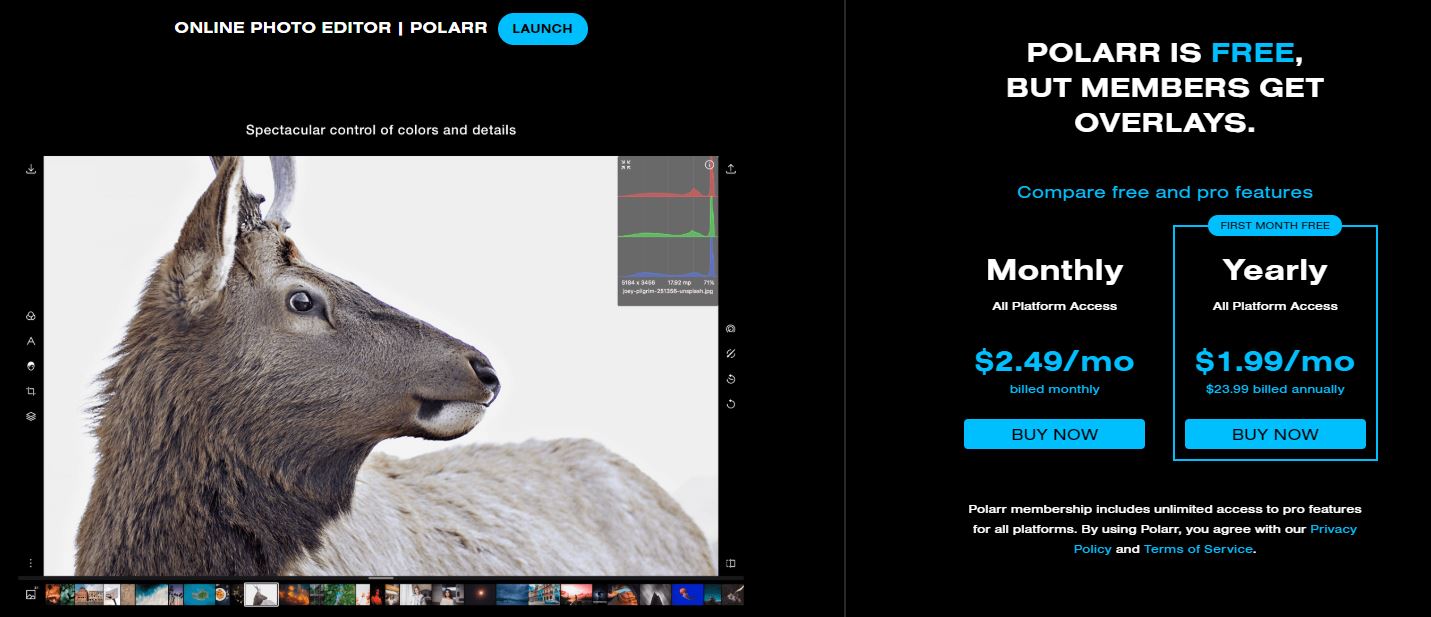
5- Polarr
Polarr is a photo editor available online and to download to desktops and mobiles.
Like Photor, it can be accessed in various languages and its usability is good and intuitive. In addition, it offers tutorials that can be accessed at any time to learn about its features.
The tools are quite complete and include facial corrections, adjustments, masks, effects, filters, layer overlays, and the insertion of text and shapes.
Although it’s free, it has a Pro version for members, which unlocks more tool options, effects and other features for U$ 2.49/month.
How to use Polarr
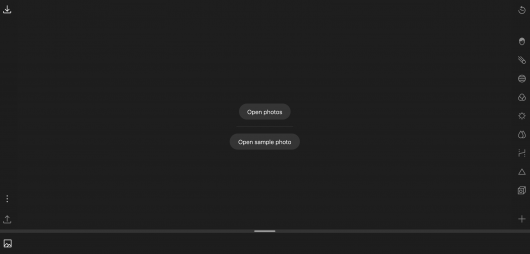
1- Go to the Polarr.co/web website and select Launch.
2- Upload your photo.
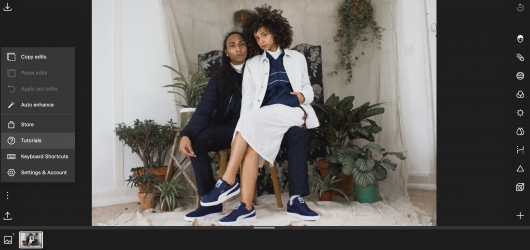
3- Click the options to access the Polarr tutorials to get to know the tools.
4- Explore the tools and add as many as you want for your edit by clicking on the “+” on the right side.
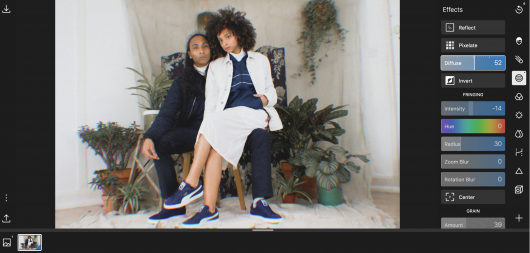
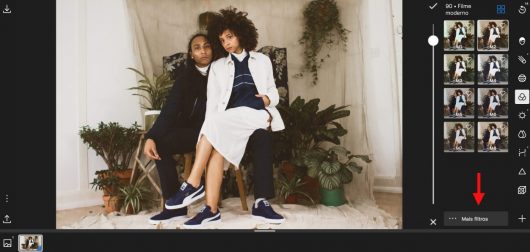
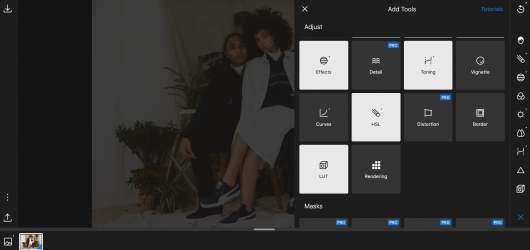
5- Click on the icon with the box with an up arrow to save your edited photo.
Bonus: Tips about useful apps for you (plus editing)
Unsplash
Unsplash is a free image bank that contains a huge variety of high-quality photos.
It’s recommended for those who need nice quality images, but cannot or don’t have the need to subscribe to a paid image bank.
UNUM
UNUM is the perfect app for those who need to publish photos on Instagram and are aware of the need to have a harmonious and organized aesthetic for their profile.
In addition to offering a grid so you can preview how the photos posted in your profile will look like, it shows relevant data about your audience, interactions in the latest posts and the best time to post a photo.
It can also create reminders to receive notifications when posting.
Canva
This is the most complete website for creating free designs.
In spite of offering an upgrade, the Canva free version has several templates for posters, business cards, banners, social media posts and many others.
And its tools for creating a completely customized design are also incredible; it’s worth checking it out!
I hope that you enjoyed the tips. Also check out the following posts: Video-editing apps and Video-recording apps.