Canva: Master This Tool and Create Incredible Layouts! [Full Tutorial]
Create incredible visual content and boost your marketing strategy with this Canva tutorial!

What will we see in this post
Have you ever thought about producing amazing graphic pieces without using complex tools, such as Photoshop or Illustrator? With Canva, you not only can create pieces for your web content strategy, but for personal things too!
Creating designs for everything: this is Canva’s motto. A simple and intuitive tool can help anyone create visual content.
With it, you can create anything from a complete ebook to wedding invitations! You can use ready-made templates or start your art piece from scratch. All of Canva’s features are there to make your job and life easier.
In order to make the most of all of its features, we have prepared this full Canva tutorial so you can create incredible layouts. Are you ready to get to work?
What is Canva?
In order for you to start mastering Canva, we’re going to explain what this interesting tool is exactly. It’s basically used for creating professional drag-and-drop graphic designs.
Besides the version for the web, it’s also available for Android or iOS.
Among its main features are:
- Thousands of free and paid images: Canva acquired two free image banks, Pexels and Pixabay. Thus, users have thousands of free photo options from both services, and there are also paid options for reasonable prices.
- Image filters: In addition to making several images available, the tool also offers custom editing filters;
- Free shapes and icons: Among Canva’s features are the availability of shapes, charts, illustrations, icons and much more, offering a wider range when creating infographics or ebooks, for example;
- Fonts and text formats: The tool also provides several different fonts so you can customize your pieces, as well as predefined text formats, making everything aesthetically aligned.
But Canva’s greatest features are its predefined templates. The templates are divided into the following categories: Social media; Documents; Personal; Education; Marketing; Events and Ads.
These categories are divided into subcategories for themes or topics. For example, in the Social Media category there’s a Facebook subcategory divided by themes, such as restaurant ads.
Each artwork has the right size for each channel, and when they’re ready, they can be downloaded in PNG, JPEG and PDF formats.
Another unique feature of Canva is the possibility of creating a project and sharing it with other people.
Is Canva free?
Canva’s major advantage is that all of its main features are free. Practically everything is there for users to use without having to pay for it, and the price for the paid features is quite affordable.
So, yes, you can register and start designing on Canva for free.
For those who wish to have more features available, you can sign up for Canva Pro, which offers a free 30-day trial, which afterwards will cost $ 9.95 to 12.95 per month (per user, depending on the number of users).
The differences between a free and paid account
Those migrating to the Pro plan will have the following features:
- Load custom fonts;
- Organize photos and other elements into folders;
- Resize the same designs to different formats and download PNG format with transparent backgrounds;
- Access to free photos, illustrations, and templates.
What can you do with Canva?
Canva represents a great opportunity for those who are starting to venture in the digital market to create designs with different content. And it’s very important to invest in this in order to stand out from the competition.
This is demonstrated by this study, which analyzed over 100 million articles and found out that those containing visual content, such as infographics, had greater chances of being shared.
In addition, companies that create visual content have a conversion rate 7 times higher.
Are you just starting to undertake and need a visual identity? Or, are you already in the market but don’t have the time and resources to create unique content? Canva has features for all of these cases. Let’s check them out!
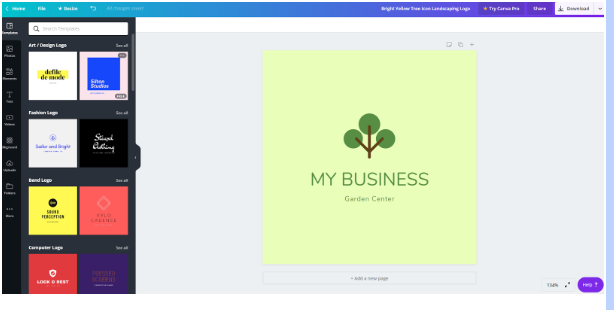
Logos
The first step for those who are starting out is to define their visual identity. Canva contains several ready-made templates; all you need to do is change the text and you’re ready to go!
Posts for social media
Canva has extensive features for social media. With the tool, you can create images and stories for Facebook and Instagram, ads in all formats, posts for Twitter, Geofilters for Snapchat, banners for LinkedIn and much more!
View this post on Instagram
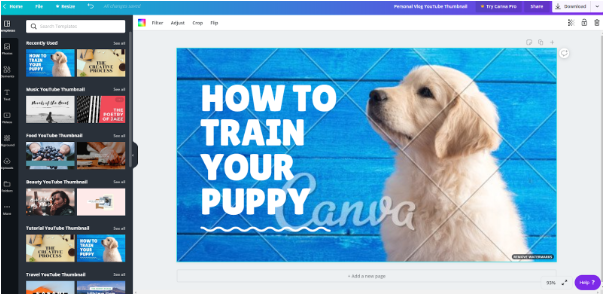
Thumbnails for videos
You can also create custom thumbnails for your YouTube channel. It might seem that it’s only an extra feature, but well-done thumbnails draw much more attention and result in more views.
Flyers and posters
For those who wish to promote events or local businesses, it’s a great idea to start using the ready-made templates. Canva has options for several themes, such as flyers for restaurants, gyms, events and even for birthdays.
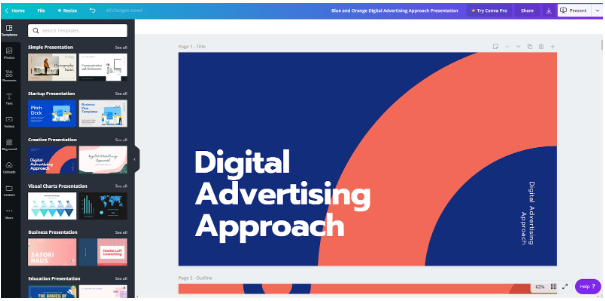
Documents and presentations
The features for creating documents and presentations can also be used for ebooks, creating something unique that will delight your leads or customers.
Business cards
Business cards are very important for networking, and when we give something nice to another person, they will remember it more easily. With Canva, you can use several templates by simply adding your contact information.
Infographics and banners for blogs
Infographics are always a hit in terms of content strategy. After all, they deliver a lot of information in a format that is easy to consume. With the elements available in the tool, you can create several different infographics.
The same goes for banners for your blog. These are usually used as your post cover, but with Canva, they can also be customized to deliver an offer, such as an ebook, for example.
Canva tutorial: a step-by-step on how to use the tool
Yes, you can do many (many!) projects with Canva. To help you create your first design, we’ve created a full Canva tutorial:
1. Create your account
The first step is to create a Canva account (remember that it’s free). Go to the home page and register with your Facebook, Google or email account.
Once your account is created, you will be directed to an onboarding page, which will help the tool select the best templates according to your needs. Here, we’ve selected the Small Business option.
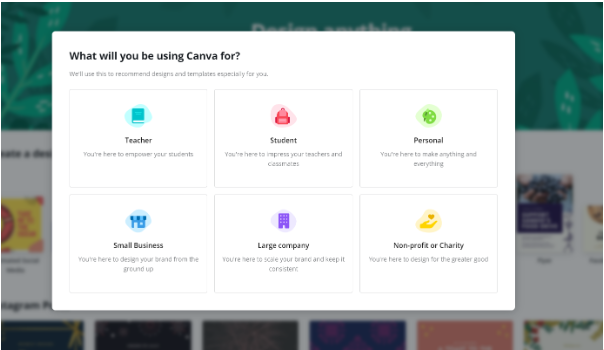
If you wish to try Canva Pro in this step, choose to take the test. Otherwise, click on “Later”.
When you go forward, you can also invite other people to collaborate on your projects.
2. Explore the library and become familiar with the templates
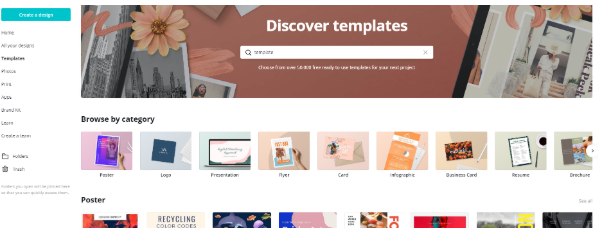
As we explained earlier, Canva has a wide collection of professional templates, which meet various content demands. The template library is organized by categories and the templates are divided into themes.
Whatever the content created in Canva, it will have the correct sizes and elements that will be like a springboard to get the work started.
For our Canva tutorial, we chose to show you how to create an Instagram post, which will be very important for an attractive and organized feed.
3. Select the template that will be attached to your posts
When it comes to social media, especially Instagram, it’s very important to define the look of your posts from here on out. Selecting a different template for each post might make your feed look messy and visually cluttered.
For our example, we’ll start with this template to promote a recipe for homemade bread. As we can see, the template has nothing to do with bread; this is where Canva’s power to transform designs comes in.
4. Image and text
For starters, you need to choose a good image for your post to have good engagement.
Using Pixabay’s library, we searched, as an example, for a photo of a guitar that would help attract people’s attention to the subject; remembering that, if you have your own photo, better yet!
Select the photo and drag it to the template.
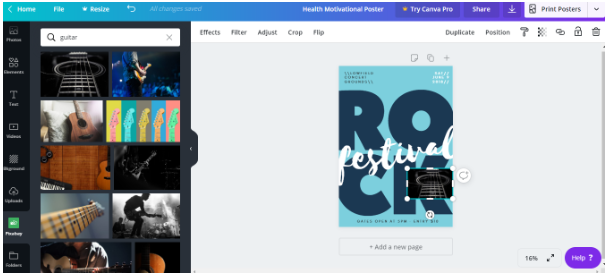
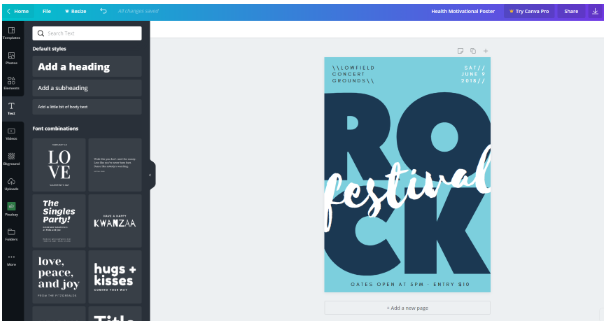
Now that we have the image, we need to choose a matching font. You can use the one in the template or select one in the Text tab.
We know that choosing matching fonts can be hard or even time-consuming. To help you, Canva itself provides a tool to show which fonts match better and tips on how to use them.
5. Share and/or download the image
Canva allows you to invite more people to collaborate on the design within the tool. Just click on Share and add other users’ email addresses and they’ll be able to view or edit it.
If you’re all set, you can download or share it to other locations, such as posting it directly to Facebook, Mailchimp, Pinterest and other social media, or save it to another service, such as Google Drive and Dropbox.
You don’t like the templates? Start from scratch!
All Canva templates are completely customizable. But if you want to, you can create your own from scratch, by uploading your own photos, background images, fonts and colors.
In order to create a template from scratch, just select the size you want and insert a grid in the Elements section on the sidebar.
Once the grid is in place, start placing the images and elements. Now is the time to let your creativity flow!
Bonus: Tips for creating incredible visual content with Canva
In addition to creating projects, Canva has other extra features that are truly handy when it comes to creating designs, especially for those who still aren’t familiar with concepts of the area. Let’s take a look at them:
Creating a color palette with Canva
Having a color palette is very important. But how to find out which colors will match your template? Canva has a free feature for creating a color palette from photos.
The photos can be from the tool itself or your own. Just upload the image and in a few seconds, you’ll have all the matching shades and codes.
Another Canva tool for the creation of color palettes is also available and helps when it’s time to adopt the right set of colors for your brand.
Canva at your fingertips
Having Canva installed on your smartphone will make your job much easier. You need to post something immediately but you don’t have your computer nearby?
Canva accounts are synchronized, i.e., your work can be done on your smartphone, saving it directly to your photo library and ready to be posted.
Set up KPIs to measure your content
As important as the creation of content is setting up KPIs to measure what is working and what isn’t. And a recurring mistake is sticking to vanity metrics, forgetting about those that truly matter.
Therefore, when you develop your content for social media and other networks, don’t forget to monitor and know which ones generate more engagement. Your work will be better and your designs won’t be created in vain.


